

Replace IDE Hard Drive With SATA Drive
How to Replace an IDE Hard Drive With a SATA Drive
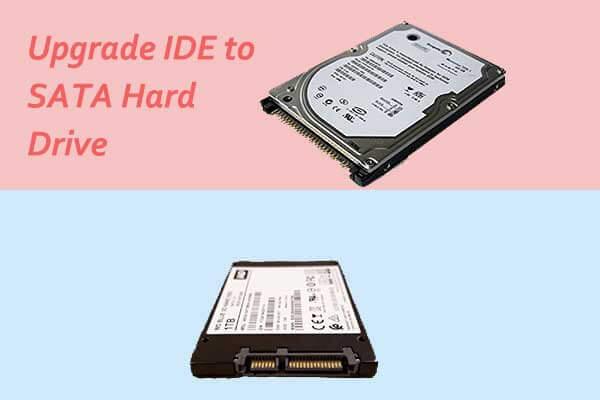
Replacing an old hard drive that has an IDE interface with a new drive using the faster SATA interface can give your computer new life. How easy is it to replace an IDE hard drive with a SATA drive? That depends on the interfaces supported by your current motherboard.
If your computer was made in 2009 or later, it's almost certain to include SATA interfaces as well as IDE interfaces on its motherboard. Check the specs for your motherboard via the system's user manual or the motherboard maker's website.
There have been three versions of the SATA standard. Revision 1 transfers data at 1.5 Gbits/sec.; Revision 2 does 3 Gbits/sec.; and Revision 3 hits 6 GBits/sec. You want to buy a SATA hard drive the matches the highest speed of your motherboard's SATA interface.
If your old motherboard does not support SATA, you can purchase a PCI-compatible SATA host adapter card for around $30. Plug the adapter into a 16-bit PCI slot on the motherboard, install the SATA software driver that comes with the card, and you're ready for a SATA hard drive. You can also buy a SATA converter adapter that plugs into an IDE port on the motherboard. These are a little cheaper, but I don't recommend this option. I don't have hard data to prove it, but it makes sense that adding a conversion layer to the disk input/output process would have to slow things down somewhat.
With the proper SATA hardware and drivers installed, replacing the IDE hard drive with a SATA drive is no different from replacing an IDE drive with another IDE drive.
First, decide whether you want to do a clean installation of operating system and applications on the SATA drive, or clone the IDE drive and transfer its image over to the SATA drive. A clean installation avoids copying corrupt or duplicate registry keys and other errors that tend to creep into any hard drive, but it takes a lot of time. Cloning your IDE drive with a product such as Ac
ronis Disk Imaging software is the simplest and fastest technique. The clone (disk image) is stored temporarily on external media such as CD, DVD, or even an external hard drive. See my related articleHow to Clone a Hard Drive
for more on that process.
Installing the SATA Drive
If you plan to do a clean installation, follow these steps:
techgenie: How to Replace an IDE DVD Drive with an SATA DVD Drive http://bit.ly/bHvFbA
— techgenie Mon Jun 14 10:41:40 +0000 2010
Back up all of your documents, photos, music, data, and other important files to CD, DVD, or an external backup drive.
Make sure you have the installation media (CD or downloaded file) for any programs you want to install on the new drive.
Remove the IDE drive and install the SATA drive.
Restart with a Windows Setup CD
Allow Windows to format, partition and install the operating system on the SATA drive.
Re-install applications and restore your files from the backup.
Install anti-virus and anti-spyware software.
Note also that SATA drives do not use the Master/Slave concept. There are no jumpers on SATA drives to specify a master or slave device. So if you have both SATA and IDE drives installed, you might think the IDE should be configured as a Slave. That sounds logical, but it's wrong. Set the jumper on your IDE drive to Master, or the computer may not recognize the IDE drive at all.
A SATA drive speeds up read-write operations significantly versus older IDE technology. Even if you have to purchase a SATA host adapter, the performance improvement can be a better investment than buying a whole new, faster computer.
Do you have something to say about SATA hard drives? Post your comment or question below...
Popular Articles/span>

")
